Sunday, April 24, 2011

Boys will be Boys

Boys will be boys. That's what people say. But what if your boy isn't a typical boy? My little man never climbed out of a crib or put himself in any kind of serious danger. At 18 months when all the boys were jumping off of things, Jake was playing with a peg board or lining up his cars in color order. Instead of soccer, he likes dancing. Instead of superheroes, he likes playing dress up. There is nothing wrong with my little boy. He is just a boy being a little boy. He is a creative boy and sometimes I feel like so much of the creativity in kids' parties is targeted towards girls. But then I stumbled upon a website that features parties for every kind of boy - the rough and tumble to the not-so rough and tumble.

http://www.spaceshipsandlaserbeams.com features amazing boys' party ideas from all over the web. And just to make the site a little sweeter, they have a beautiful etsy shop that sells printables for all of your boy party needs so that your boy's party can be as unique as he is.

Here are some of my favorites:
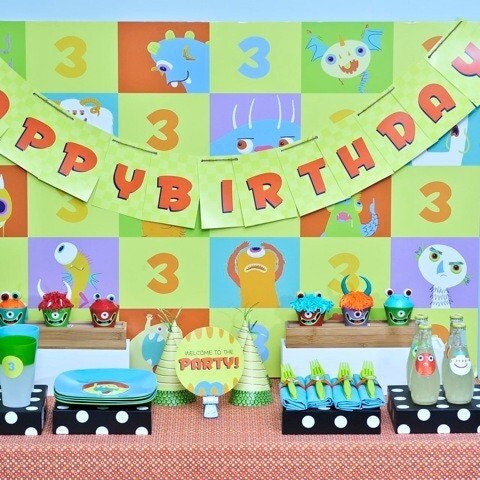
boy's non-scary monster party


boy's vintage race car party


chutes and ladders/game party

Here are some of the awesome products from their amazing etsy shop - I wish I would have discovered this before Jake's birthday party. Maybe next year...

non-scary monster party


outer space/alien/robot party


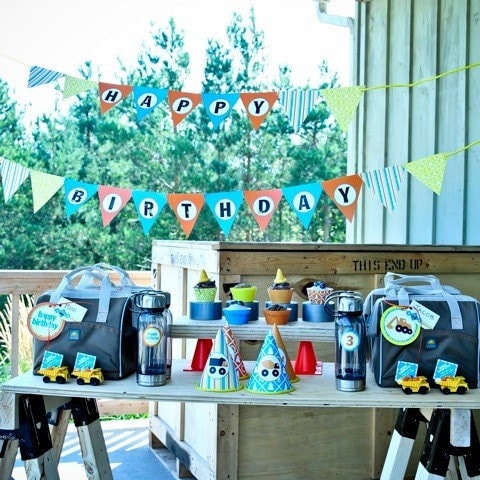
construction crew party


football/kick-off party (check out the hamburger cupcakes)!
There are so many cool party supplies for sale -from the invites to the cupcake holders. Check it out: http://www.etsy.com/shop/SpaceshipsLaserBeams

Thursday, April 21, 2011

More Earth Day Fun!

I stumbled across this amazing blog yesterday: http://www.minieco.co.uk/
This beautiful, eco-friendly blog, which I found while searching http://www.ohdeedoh.com/ inspired many ideas for earth day. Here are some of the highlights, but be sure to visit it yourself because Kate has generously provided many tutorials that will keep your little ones busy even when earth day is long over.

Here are a few projects you could do in an afternoon that will stimulate your kids imagination in more ways than one:

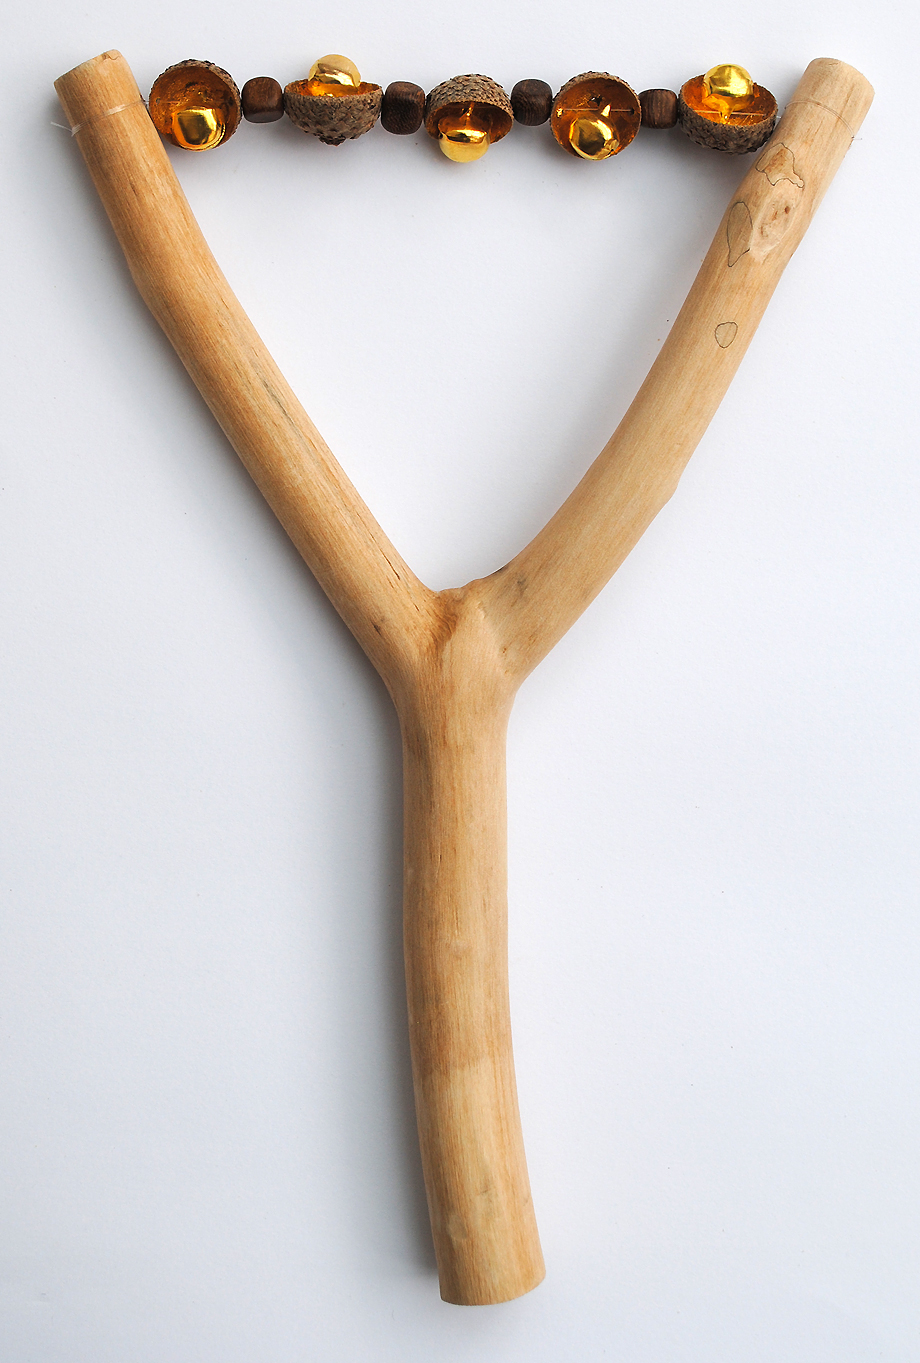
This beautiful musical instrument is made from a stick, acorn shells and tiny bells. In all, this project costs almost nothing to make. Pure brilliance.

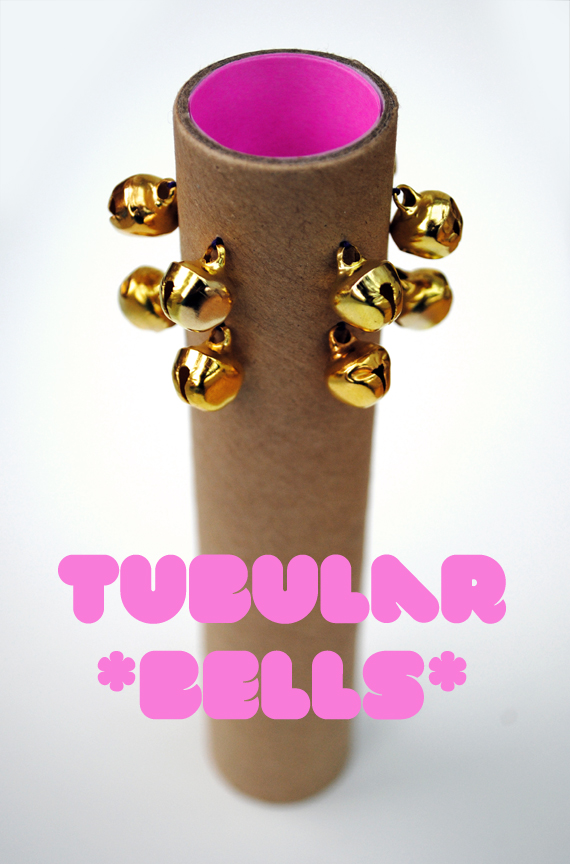
As long as you have already bought the bells, you can do some other projects with them. Here is another. Again, from the same beautiful site: http://www.minieco.co.uk/


And another:

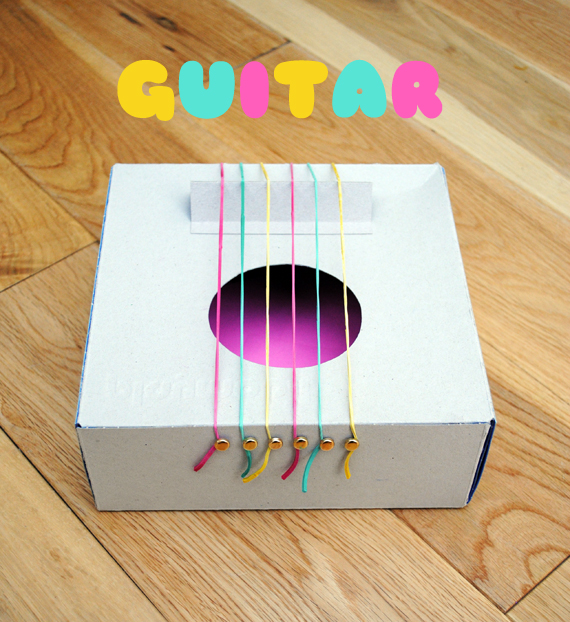
This guitar requires paper fasteners, rubber bands and a cardboard box! Less than a buck and hours of fun!

Wednesday, April 20, 2011

Easy Earth Day Fun

Earth day is just around the corner, and my post today involves teaching kids creative ways to reuse and recycle--there are fun ways to introduce them to lifelong green habits!  Recently, we took home plastic cups from a friend's party and cleaned them thoroughly.  These cups often can't be recycled, so they just sit and fill up landfills.  By making art from them, you are doing your small part to save our planet. Here is how it's done:

First, pre-heat the oven to 225 degrees. Cut the cups in a circle along the outside lines or ridges.  Next, you can color the bottom of the cups with any type of permanent marker.  For this activity, we wanted to use the entire cup, so we made little planet earths and planets as well as some dress-up bracelets.  If you want to make a mobile or hanging sculpture, you should punch holes through the cup BEFORE you put it in the oven. Heating the plastic thickens and shrinks it, but it only takes one minute and barely smells at all. Once the plastic is colored with marker, the plastic goes in the oven for less than one minute. You should watch the cups through the window of your oven to make sure they do not shrink too much. Here are some pictures showing how we made unique earth day crafts:

You will need the following:

recycled cups
scissors for cutting the cups


sharpies or any permanent marker works well


 Here are the steps:

cut the cup into three parts - bottom part is for making the globe and the middle and top parts will be dress-up bracelets
using green and blue permanent markers, make the planet earth 


He is also coloring the top ring of the cup to make bracelets for his sister


taping down the ring stops it from moving


ready for the oven


our plastic planets

and


Our new dress up bracelets


After completing our cutting of the cups, we had so many plastic scraps from the middle parts of the cups and I just didn't feel right about throwing them out.   I had Jake color the scraps green and blue.  Then I cut them into tiny pieces and put them into the oven. With the cooked pieces and a recycled take-out container, we made a mixed-media "Earth" window hanging. It is transparent and takes on the appearance of "stained glass."  Jake had fun making it and I think it turned out beautiful.


Here is how we did it:
we took an old take-out container and Jake drew where he wanted the land (green) and the water (blue) to go


once he mapped it out (no pun intended), he glued the entire surface


then he began gluing his "cooked" plastic pieces


Finished product next to our other earths:


Tuesday, April 19, 2011

A mosaic of ideas

I love making mosaics. Gaudi is my hero. I made my first mosaic in high school while my parents were away. I know, most kids throw wild parties while their parents are out of town, yet I decided to mosaic the wall of my bedroom. Probably not the best surface to start with. In retrospect, a wild party might have cost me less money since I had to pay to have the drywall replaced and the wallpaper stripped. Perhaps learning how to mosaic before actually making one would have been the brighter idea. But that just isn't how I do things. I get an idea, then I execute and then, once every possible thing that could have gone wrong goes wrong, I decide to crack open a book and see how it is supposed to be done.

Nevertheless, I eventually figured it out and now I make and sell mosaics and also teach children how to do them. Here are a few of my personal mosaics:

letter "J" custom made for a baby room
stained glass mirror I made for Madelyn's room
stained glass mosaic table


Here are a few of the mosaics I have done with ten year olds:


grouting with ten year olds

cleaning and finishing the mosaic


Kids' adding paint to the grout to make their own custom color


So then I started thinking. I wish I could do mosaics with my young kids, but I don't want them to look mediocre or juvenile. I also don't want them to cut their hands on glass, but would love to make the kind that are asymmetrical or "broken" looking. I scoured the web and found brilliance! This is not only something I would do with my kids, but something I would make and be very, very proud of! Great job, Amanda!  Amanda of www.craftsbyamanda.com used left-over easter eggs to make a gorgeous vase.
As a mosaicist, I wish I would have thought of this - how beautiful! Here it is:


Find the tutorial on www.craftsbyamanda.com


Thanks for letting us post your idea, Amanda! www.craftsbyamanda.com

Saturday, April 16, 2011

Sweet, sweet mystery

Yesterday we needed a rainy day activity. Madelyn was sleeping and Jake's creative juices were flowing and together we came up with this: Mystery Boxes. Mystery boxes are tangible scavenger hunts (which require zero parental supervision). They are essentially windowed boxes which contain "treasures" that you can only find by shaking the box in different directions to view. A photographic "key" helps list all the items that need to be found.

How did we do this? We bought the jewelry-type box with windows on 5 sides from Michael's. Then, we covered all of the windows with blue painter's tape (you can do this ahead of time). Jake went around the house and found little knick-knacks that were important to him, but ones he knew he could never play with again. He decided to include gemstones, marbles, crayons, a crab-shaped sponge, a worry doll, seashells, etc. We put them all on a piece of paper and took a picture of all the items together. Now that we are done, Jake uses the laminated photograph of all of the items as a checklist for what he wants to find in the box. It acts as a "map" or a "key." Later, when he knows how to read, I will make a written checklist alongside the visual list and he can read what he is looking for. Here are some pictures of our rainy day activity:


finished mystery box - you can see some of Jake's "treasures" through the top window


all the windows taped up so that we don't get glue on them


tissue paper


jake's treasures, which will serve as our photographic "key"

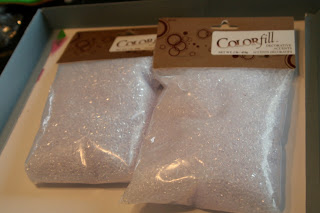
colorfill floral filler which fills the box and hides the treasures - making it a challenge to find them


permanent glue used to seal the box closed

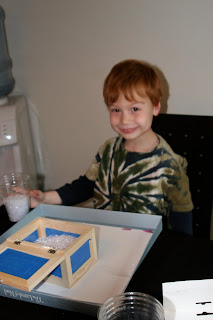
jake pouring the colorfill into the box


ready to add the treasures


adding his treasures 
glue around the rim

gluing the box closed


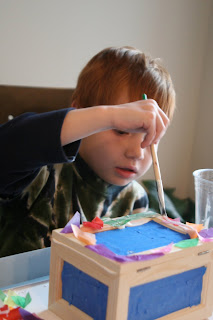
once the box is closed, we used glue and then modge podge to decorate the wood. Paint would work well, too
the masterpiece


I've gotten such a wonderful response from these mystery boxes. And today I found an idea on another blog that I thought was amazing.  I found it originally on http://marshmallowkids.blogspot.com
Instead of a mystery box, they featured a mystery ball:


These are mystery balls and you can fill them with treasures and give them as a gift. Check out the tutorial:

http://www.notmartha.org/tomake/surpriseballs/